Its been a couple of weeks since I played this game and I have been quite busy with Real Life hence the delay in posting.
For my 6th and Final FOW League game I was up against Chris with his Grenadierkompanie. He had;
- Grenadier HQ with Mortar Section and Panzershreck team.
- 2 * Grenadier Platoons
- 2 PaK 40's
- T-34/85 Beutepanzer
- King Tiger!
I was a tad concerned about the King Tiger as here was a beast that my Panther's and M-1o's couldn't touch! Time to settle it the old fashioned way, by a frontal assault!
We rolled up Hasty Assault, on of my least favourite missions. I think it is too biased towards the defender as not only does he go first, but he gets an ambush and the attacker is still stuck with an objective of his own to defend as well as only starting with half his forces!
The Board was pretty standard with a Village on my side and a river bisecting it from long to long edge. We did have a dirty great big Forested (skill test) hill Chris's side so he duly stuck and objective in it up the top. The rest of the objectives were spread out along his table side with my one I had to defend completely undefended in the Village.
As below I deployed in they far right corner opposite the Giant Hill of Forested Doom (GFHoD) my Universal Carrier Rota and the BA-64's to screen for a potential ambush. Chris made a Kampfgruppe of Grenadiers and had this as his ambush with a small Grenadier Platoon holding the hill Objective, his King Tiger back in the Center and the HQ mortars in a field center left.
 My BA-64's have recce'd forward, here is Chris measuring to deploy his immediate ambush.
 The KG deploys out of ambush in the corner of the GFHoD. The King Tiger drives forward and obliterates a BA-64 - talk about overkill! The rest break off and reorganise by the ford. The UC Rota swing to the side to get behind the wood.
 The Tiger drives aggressively forward and kills a Carrier and its passengers.
 Right, no more dicking around - The rota swarm forward to within 2" of the King Tigger. I cant assault until next turn but that's a Flame Thrower team in the closest UC (note the fuel tank on the back) so if he fails to stormtroper he's toast...
 Meanwhile M-10's have turned up from reserve and double onto the board into the Village.
 Somehow I missed Chris's turn here but he passed his Stormtrooper roll for the King Tigger and he was safe from being BBQ'd. Below M-10s lurk in the Village and spray the Mortars with 50cal fire to little effect.
 Back to the Action on the GFHoD and my Half Track Rota have turned up and powered forward at the Double to debus next turn. My Rota keep in their carriers and move up to within 6' (but out of 4") to give the Gren KG a good old MG'ing. In Chris's turn he tries a 2 team flank assault on my UC's but the Tiger fails to kill any and even though I am smoked he cant make it through the storm of defensive fire.
 Gun sight view of the King Tiger from my M-10's...
 Bam! M-10's get the beast with a flank shot for my first ever King Tiger kill!. He was toast anyway as right in front of him is a flamethrower team...
 My far HT Rota have debussed and are advancing through the woods (top right). This is the shot after my UC Rota have shot and and assaulted the KG Grens who have fallen back further up the GFHoD (top middle). Meanwhile Grenadier reserves have arrived and have advanced downhill towards the me.
 Chris sends in the Reserve Grens and then they come down the GFHoD in a viscous assault that grinds my platoon down to one team (who runs away) and forces the IC teams in their transports out of the GFHoD and away. The 2iC is caught in his M3A1 Transporter and buys the farm. Meanwhile the Panthers have arrived and are advancing forward. I think the T-34/85 Beutepanzer has arrived in the middle as well, and spends the rest of the game hiding from my M-10's
 On the other flank the M-10's storm the Mortar Position...
 And the Ht Rota, with Supporting fire from the Panthers, BA-64's and CO in his M3 Half track, assault and wipe out the Reserve Grens. The road to the objective is clear!
 So with his PaK-40s still to turn up and the top objective on top of the Giant Forested Hill of Doom devoid of defending troops the Soviets have pulled off my first ever win as an Attacker in Hasty Assault.
5-2 to the Mighty Rota!
After game we discussed what Chris might have done differently and he said he should of deployed on my side of the table and also should have deployed the PaK's. This would have given him better lines of sight and forced me to move in the open more, and under fire from the PaK's...
Overall a fun game and a great way to finish the league. You can see the results here:
http://roughwotr.blogspot.com/2011/01/current-cavaliers-league-standings.html
This means I ended up 3rd or 4th which I thought was pretty awesome for me :)
Cheers
Jason


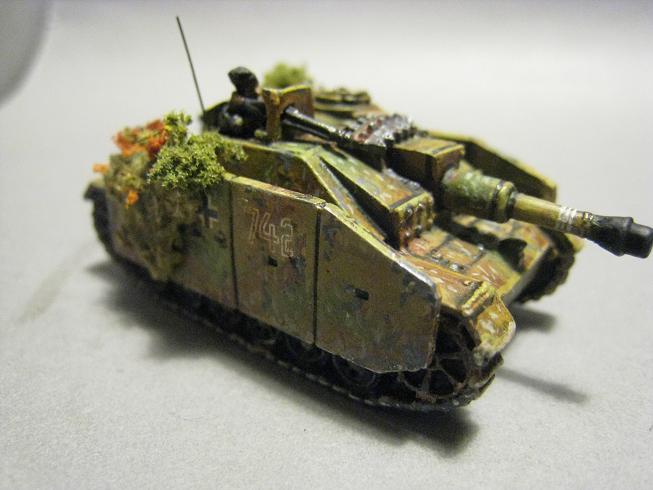


 You get this really cool Supply Maultier in the Speerverband box set so it would be criminal not to paint it up. I also used it as a test bed for how I'm going to paint the Vehicles and it came up pretty well I think. It's just so bloody hard to get a good three tone Kraut camo effect withou an airbrush...
 And here is all the painted Germans so far.
 Next I will be repainting some of my first every German tanks I painted about 5 years ago...StuG's

 Goodbye Panthers: To be expected!
 M10's turn up on the flank but due to Hens and Chicks can only manage frontal shots. Which are
  Jamie's Tiger comes down from his perch on the Hill and nabs a Carrier down the road.
 The
The  The
The  More Rota and the M10's dash forward to contest the objective and prevent auto loss. Sadly the M10's have to move full speed so are unable to shoot.
 The
The  Grenadier
  Now quite
  Below the
  By now the
  The remaining two BA-64's zip past the
  By now the
  So the first loss to the mighty Rota :(